


Elementor 3.12 includes a number of highly anticipated features that will move the design and browsing of your website to the next level. This version also reveals the first phase of re-engineering of the elementor interface and extends existing features.
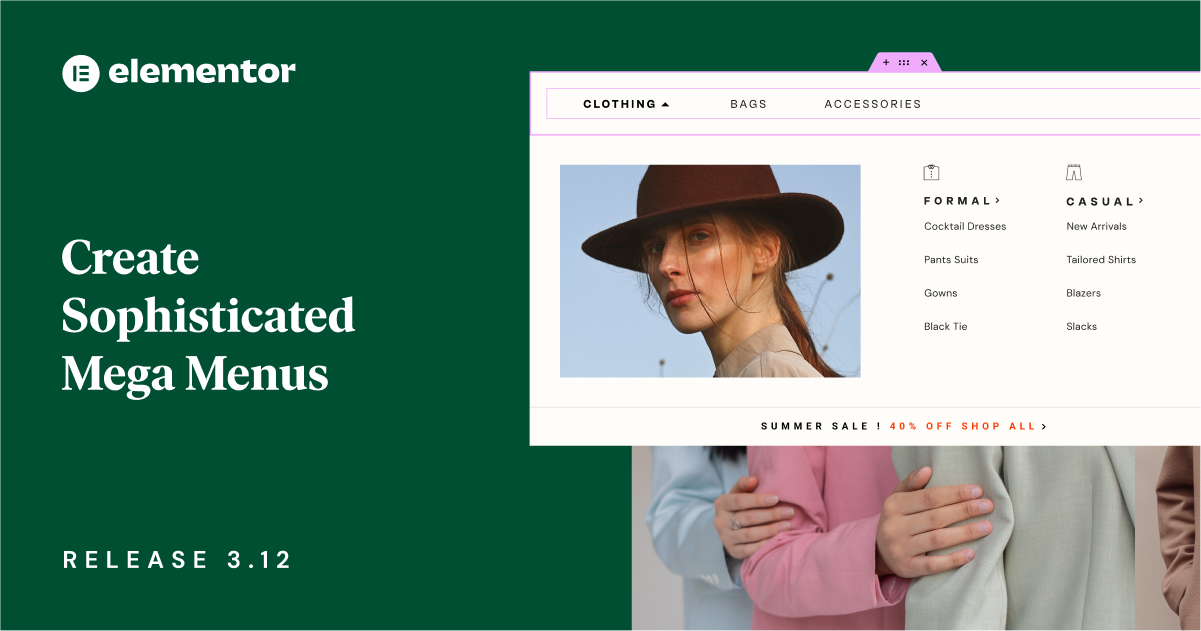
Elementor 3.12 includes a number of exciting features, including a new menu widget, which will allow you to visually create sophisticated Mega Menus in Elementor. This version also includes a new feature that allows you to further customize your website lists and create an alternative template in the Loop Grid widget. Finally, this version expands existing capabilities and offers additional design and customization options.
Contents
[Pro only] Introduction of the Mega Menu in Elementor with the new menu widget
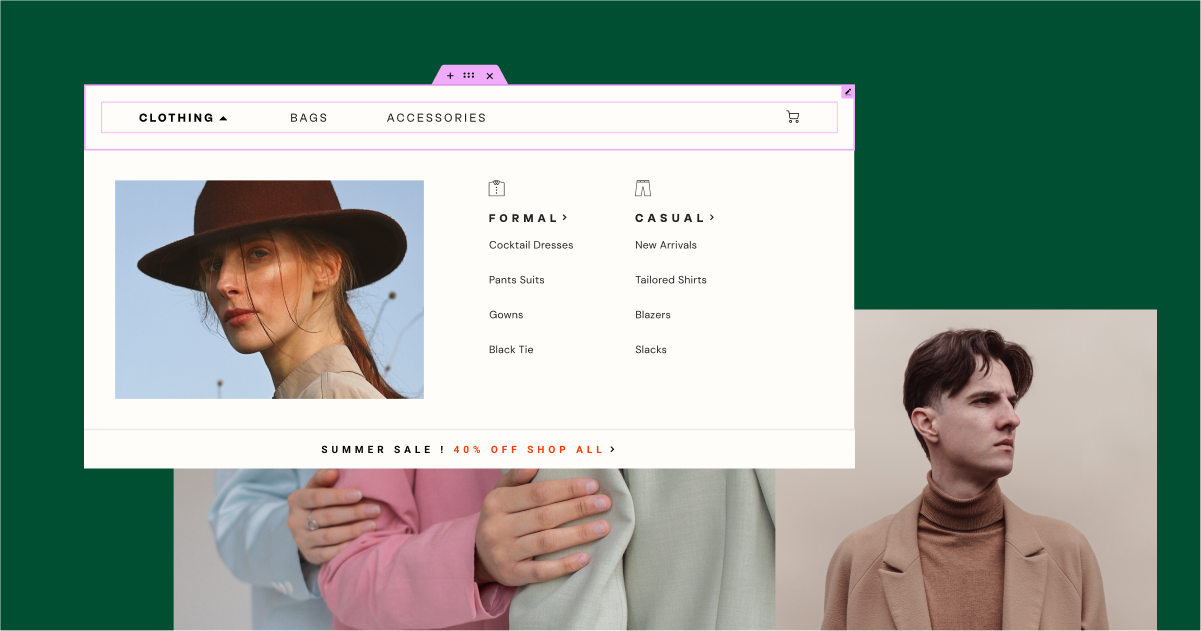
This version introduces one of the most requested features – the Mega Menu, available with the new menu widget. Using the new widget Menu, you can create an expandable menu that allows you to display more content. This improves visitors' experience by allowing them to find certain categories and subcategories more easily, and allows you to create unique and original websites.
Configure browsing your website
With the new menu widget, you can create as many menu items as you want, from scratch – without necessarily having to create menus in the WordPress Menus screen. Each menu item can be linked to any page, which gives you more flexibility to structure the browsing of your website. For optimal browsing, it is recommended to use the dynamic internal URL tag to ensure that menu items always return to the desired page.
For each menu item, you can decide whether or not the menu item includes drop-down content in which you can add subcategories, and choose an icon for the drop-down indicator. If you decide to add drop-down content, you can set a drop-down effect so that the menu item opens over or over the click, and choose if you want the drop-down content to fade with an animation effect.
Create a mega-menu with drop-down content
By activating drop-down content, by menu item, and using the power of containers and nested elements, you can create magnificent and sophisticated mega-menus. When you activate the drop-down content on a menu item, a new container is added to the menu item, in which you can drag any widget, stylize the content area and design the layout you want, thus improving visitors' experience and strengthening their commitment.
Reactive parameters
To adapt the visitor experience to each device, you can choose the breakpoint from which the menu becomes a rocking menu, and adjust how the drop-down content areas are designed to fit the screen on which they are displayed.
Note: As part of this update, the Nav Menu widget has been renamed WordPress Menu, and you can still use it at any time, even in your Menu widget to create Menus based on the WordPress Menus screen.
[Pro only] Diversify your design with an alternative loop model
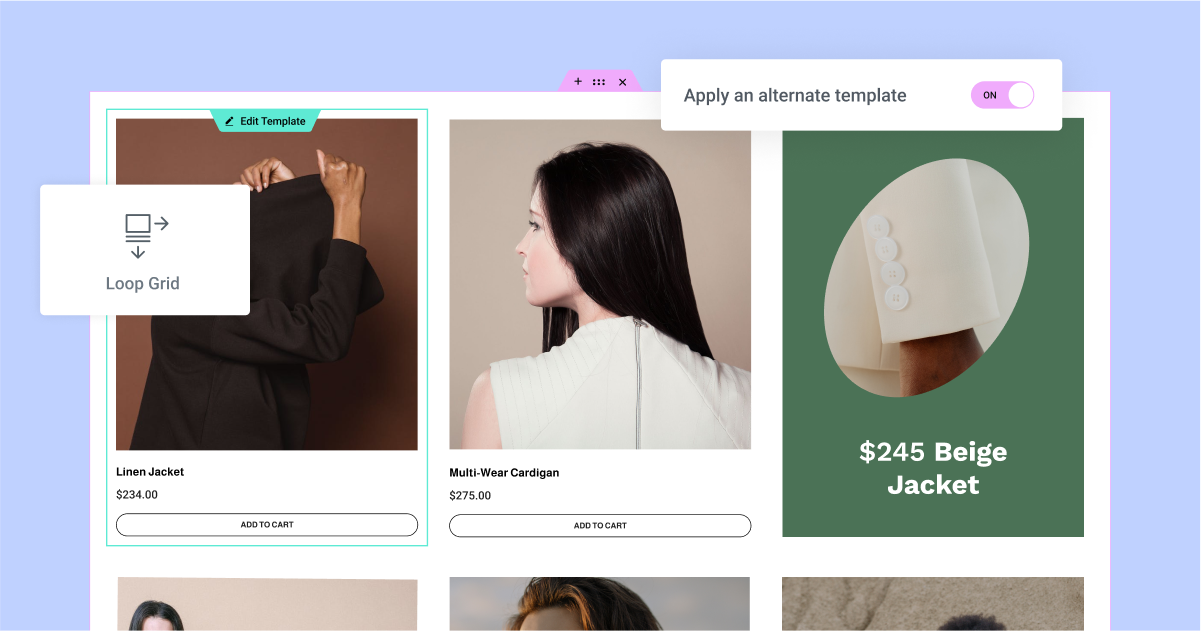
Loop Alternative Template, a new feature of the Loop Grid widget, allows you to achieve a higher level of design flexibility by applying a different model to specific elements in a loop grid.
Add another template to highlight items
To add another model to your loop grid, activate the check box « Apply another model ». By clicking Create a template, you access the theme designer, where you can design a new loop element. You can also choose one of the loop element templates you previously created as an alternative model. You can create up to 20 different templates for each loop grid on your website.
Once you have chosen the model you want to use, you can determine the position of the element in the grid to which it should apply and whether you want it to repeat or not. For example, you can apply an alternative model to the element in the second position in the grid, and then determine whether you want it to appear only on the second element or whether it repeats both elements.
Note: In this version, the application of an alternative model replaces the design of specific elements in your loop grid, based on the request you selected for the entire grid. It is not yet possible to inject an element external to the request.
occupy more space with column spacing
Define a column spacing for the alternative model to further highlight the specific elements of the loop. This will allow you to design a model that occupies more space in your loop grid. For example, if you have a 3 column loop grid, you can create an alternative model that covers 2 columns. This means that if you apply the alternative model to the second element and set it to cover 2 columns, the second element will occupy 2 columns in the first row.
[Pro only] Leverage your workflow with predefined loop templates
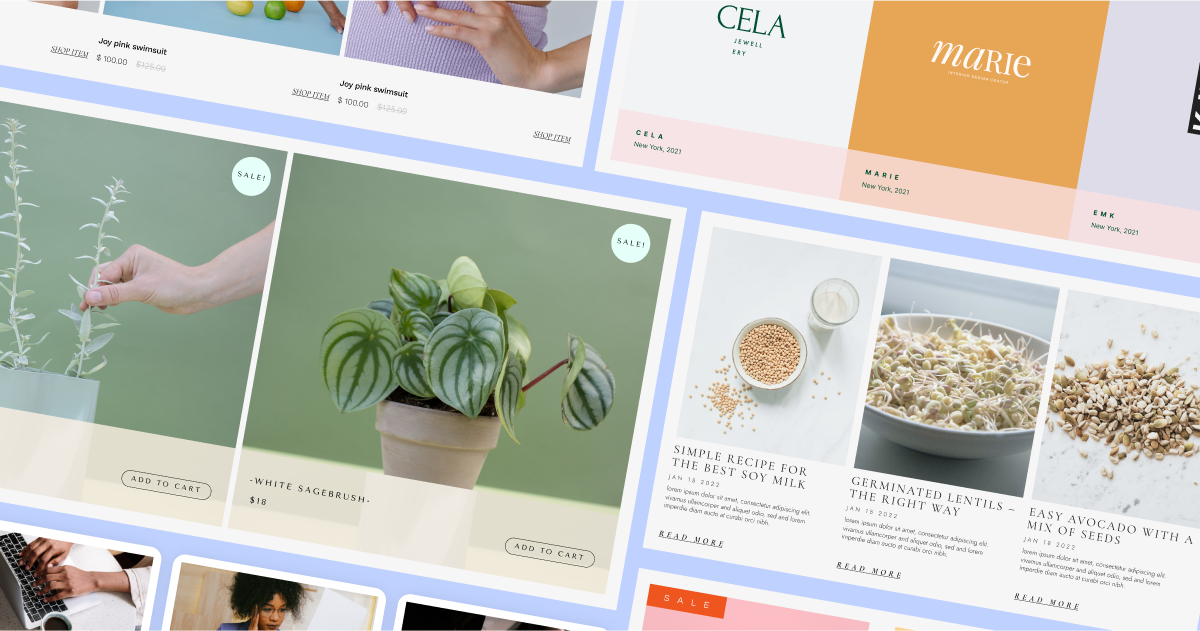
Accelerate your workflow and build on the 10 new loop models available in the library. This version includes 6 models for items and 4 for WooCommerce products. You can find the templates by clicking on the template library icon in the canvas when you create a new loop model. The model library will show you models for items or products depending on the « type of model » you have chosen in the loop grid content tab.
Once you have chosen the template you want to use, you can customize it more and choose the content and query you want to display.
Note: loop models are container-based and are only available for websites whose containers are activated.
Redesign of the Elementor interface
Elementor has existed for nearly 7 years, and it was also at that time that the editor's interface was designed for the first time. Over the years, countless new features and widgets have been added, making it important for Elementor to make changes to the user interface (IU) and user experience (UX) to facilitate future product growth.
In future versions, the Elementor interface will undergo a progressive overhaul, which will be built in REACT. Changes to the interface encourage best practices in creating websites with Elementor, improve accessibility, streamline workflows and allow the introduction of new features in the future.
A new colour palette for Elementor
In Elementor 3.12, the editor's interface underwent its first update to align with the new color palette. As part of this update, the colors of the editor have been simplified. The new colors are optimized for Dark and Light modes, have better accessibility and allow you to focus on the content of your website, without affecting the functionality of the product.
Experimentation : New top bar
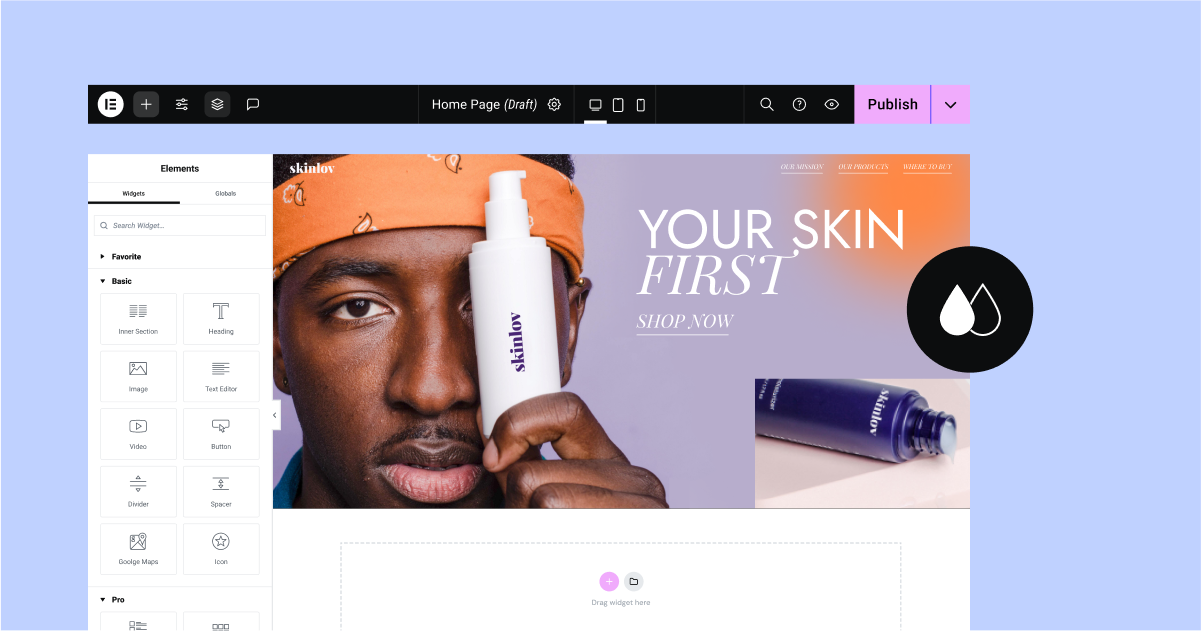
In Elementor 3.12, the new top bar is introduced as an experience that you can activate (from the WordPress dashboard → Elementor → Features). This version presents the initial step of the new top bar in the editor, which was built using REACT to improve performance and enable future capabilities. The top bar brings together all the actions essential to creating a website in a centralized and easily accessible place.
As part of this version, the top bar includes the following elements and capabilities:
- Elementor Menu – allows direct access to the theme creator, revision history, user preferences, keyboard shortcuts and website management ( WordPress dashboard).
- icon ‘+
- Site settings – allows access to all site settings, as was the case before.
- Structure – opens the structure panel (formerly browser).
- Document indication – clarifies the part of the site you are working on.
- Toothed wheel icon – allows access to the settings of the page, where you can adjust the settings of the page you are on.
- Reactive icons – allows you to easily switch between breakpoints on your website in one click.
- Icon of magnifying glass – opens the Finder, which allows you to easily find parts of the website, perform quick actions and add new pages or messages.
- Question point icon – directs you to the help center.
- icon « eye » : opens the preview of your website.
- Publish – went from the bottom of the widgets panel to the right corner of the top bar, allowing you to publish a page.
Since this is only the first phase, not all the features have yet been fully integrated and it is n is not recommended to activate them on active websites.
Extension of existing features
To keep pace with the ever-changing landscape of web design, Elementor is constantly introducing updates to existing features to expand your capabilities and provide you with more customization and accuracy options.
[Pro only] Choose your favorite custom icons from the Cart Menu widget
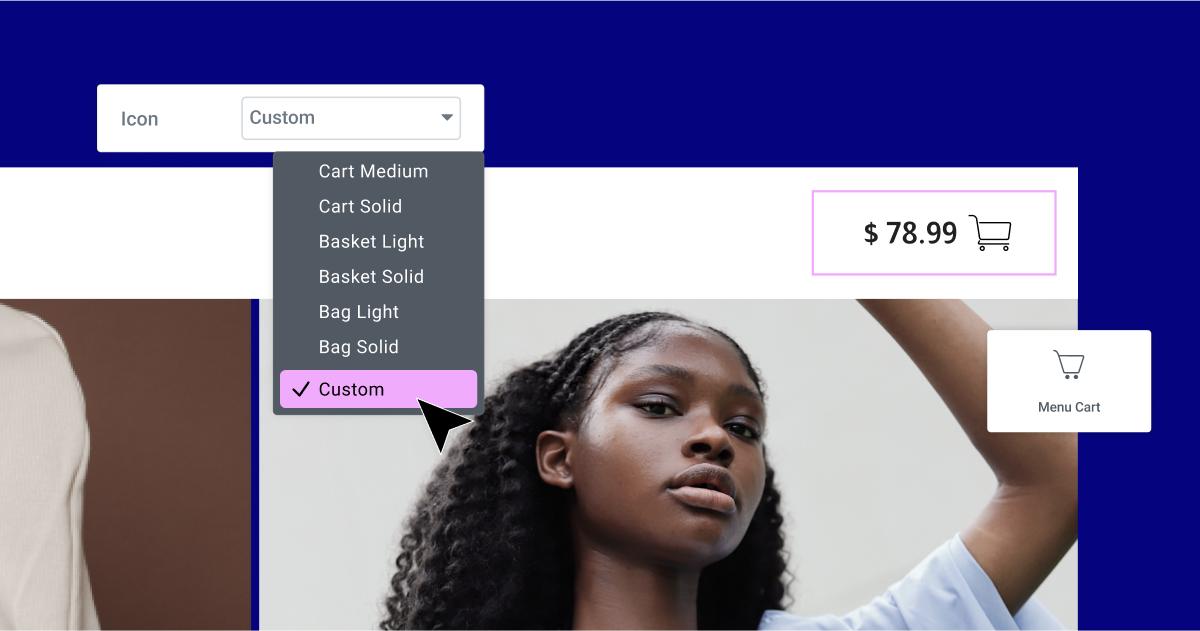
The menu cart widget previously offered a selection of only 9 icons for the basket itself, and did not allow the icons to be customized « Close Cart » or « Remove item ». However, with the latest update, you can select or download any SVG for one of these three icons. To add a custom icon to the basket itself, select first « Custom » in the icon drop-down list and choose an icon in the library or download your own SVG. To modify icons « Close Cart » or « Delete Article », two new controls have been added to the editing panel so you can choose an icon in the library or download your own SVG.
Alignment of icons in the icon list widget
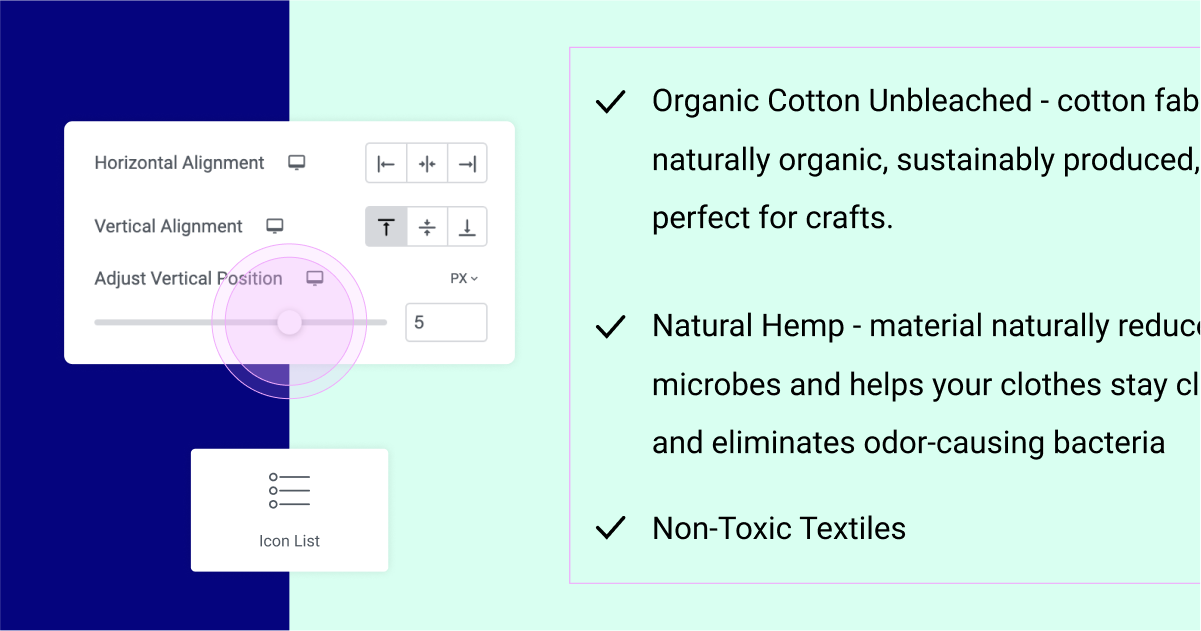
With this update, if the content of your list item in your list of icons extends over more than one line, you can align vertically the location of the icon with the content. You can align the icon at the top, middle or bottom of your list item. For more precision, you can use the Adjust vertical position cursor to place your icon exactly where you want it.
Choose any type of unit, anywhere
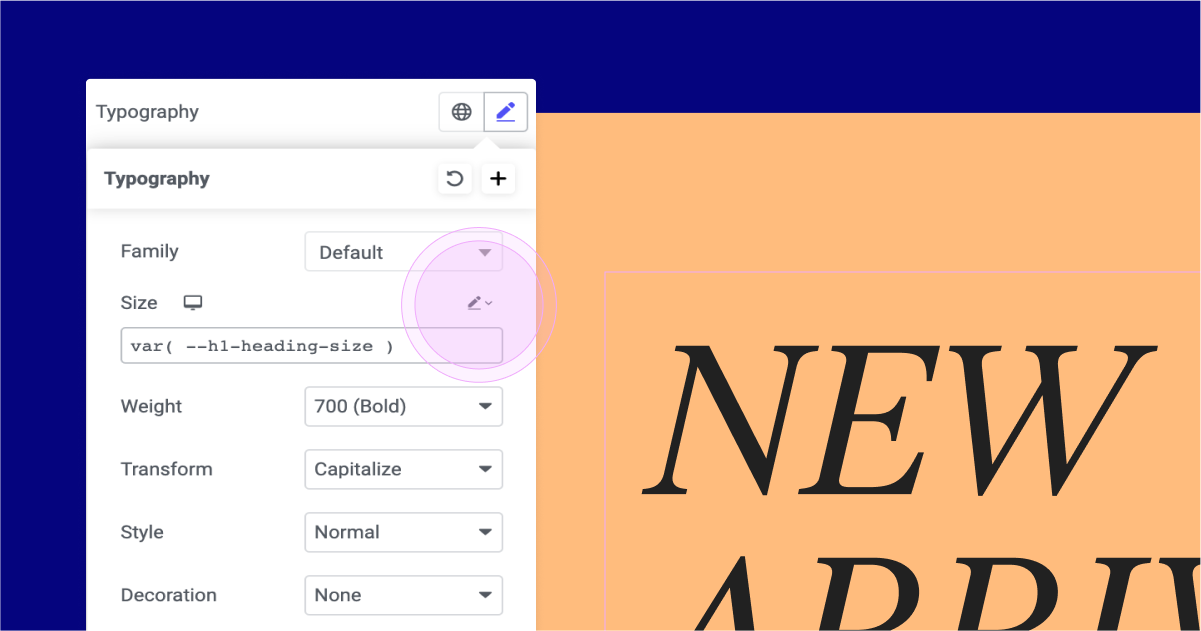
As part of this release, Elementor aligned all unit-based fields to include everything they lacked – EM, REM, pixels, percentages, VW, VH and Custom.
Designing sophisticated websites with the new features of Elementor
The latest version of Elementor includes a number of interesting features that improve the design of your website and visitor experience. With the introduction of the new Widget Menu, you can visually and transparently create superb Mega Menus. In addition, the Loop Grid widget now allows you to create alternative templates for your website lists, giving you even more control over your design.
This article has been translated and slightly modified from the official blog of Elementor: https://elementor.com/blog/new-mega-menu-loop-alternate-template-and-more/
